Ever wanted to figure out what you should watch when you get home before you get there? With the Shaw On Demand Search app, you can do just that. Whether you’re waiting for the bus or on the train, you can browse our entire Shaw Direct On Demand library from the comfort of your mobile device, and even order your pick so it’s ready to go as soon as you get home.
The app is currently available for Apple iOS devices and Android, so you can get it for your iPhone 3GS and up, your iPad 2 or the new iPad, on any iPod Touch device, and any Android device with version 2.2 and up. You can download it for free from Apple here, and from Google app store for Android here.
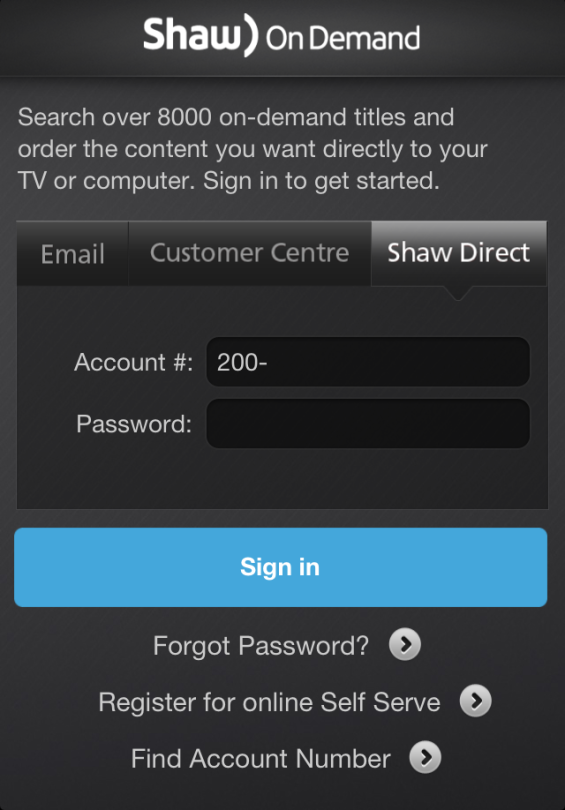 When
you launch the app, you’ll be taken to a login page with three
different options; the first two (“Email” and “Customer Centre”) are for
Shaw customers, while the third (“Shaw Direct”) is the one you’ll want
to tap on. To login, you need to ensure that you’ve already registered
for an online ShawDirect.ca account. You’ll also need to know the password that you used for the online account, as well as your account number.
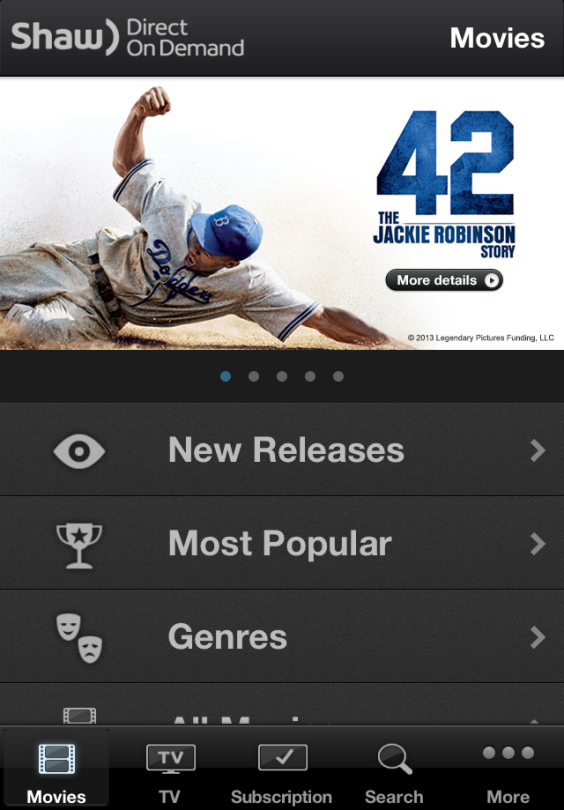 Once
you’ve entered this information and the login has been completed,
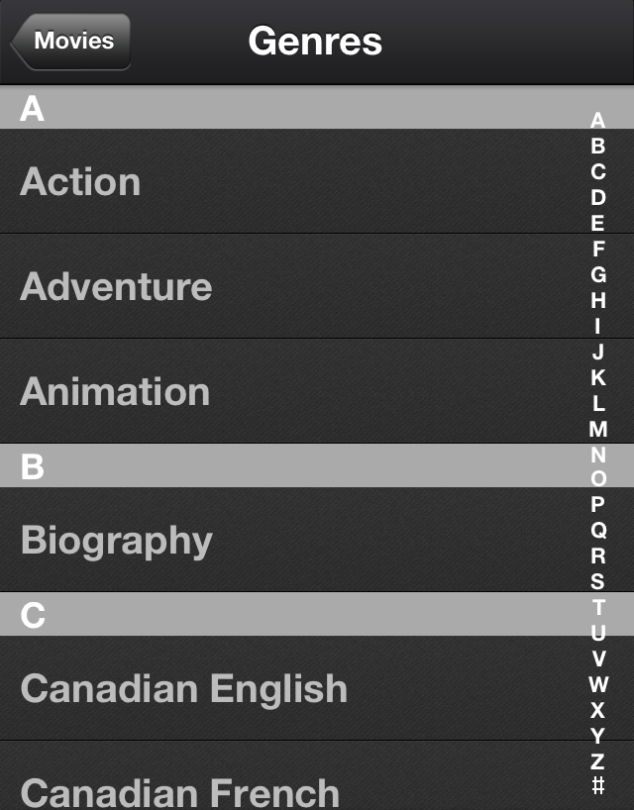
you’ll automatically be taken to the main “Movies” page, which allows
you to browse the listings in several different ways, including by
genre, by newest release, and by the most popular titles. Pricing for
these titles ranges from free up to $6.99 (taxes extra).
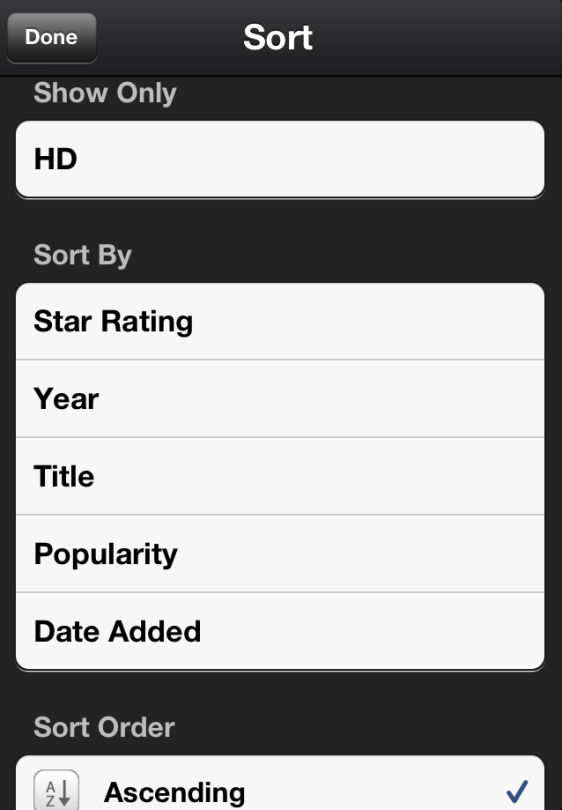
One of the browsing options that we liked was “All Movies,” which takes you to a master list of all available movie titles. The cool thing about this is that you can alter the results by tapping on “Sort” in the top-right corner. Here, you can choose to sort alphabetically by title, by the year of release, by the star rating, by popularity, and by the date the title was added to our library, which is great if you’re not entirely sure what you’d like to watch yet. You can also choose to only have the app display movies that are available in HD.
The icons along the bottom of the screen will take you to the other areas of Shaw Direct On Demand listings, including “Movies,” “TV,” “Subscription,”, “Search,” and “More.”
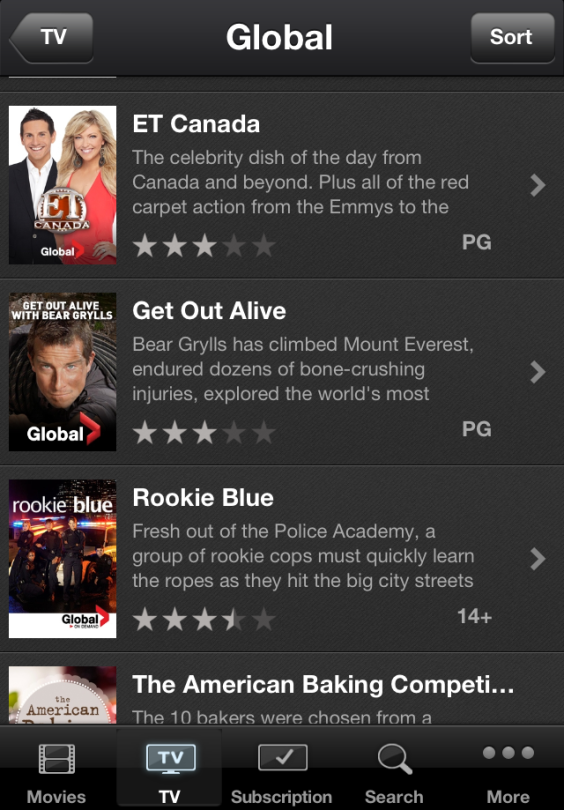
Tapping on “TV” will show you all of the On Demand titles offered by a variety of broadcasters; the titles will be broken up by the different channels, and the content listed here will be available at no charge as long as you have a subscription to the channel.
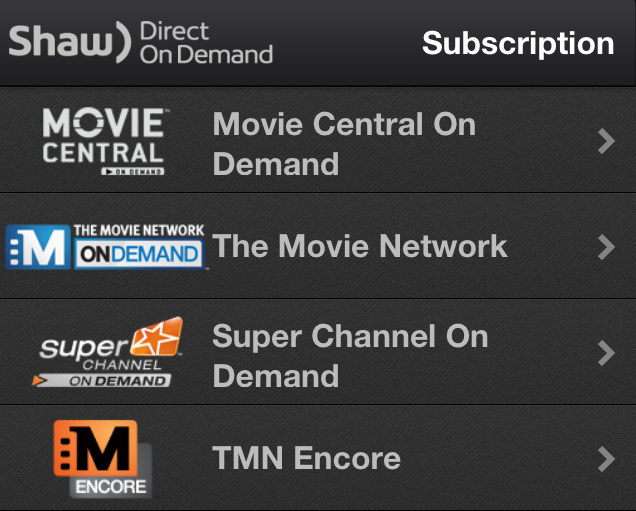 Speaking
of subscription, the “Subscription” section will list premium channels
such as Movie Central or The Movie Network. If you have a subscription
to one of the premium channels, you’ll receive On Demand content from
that channel at no cost.
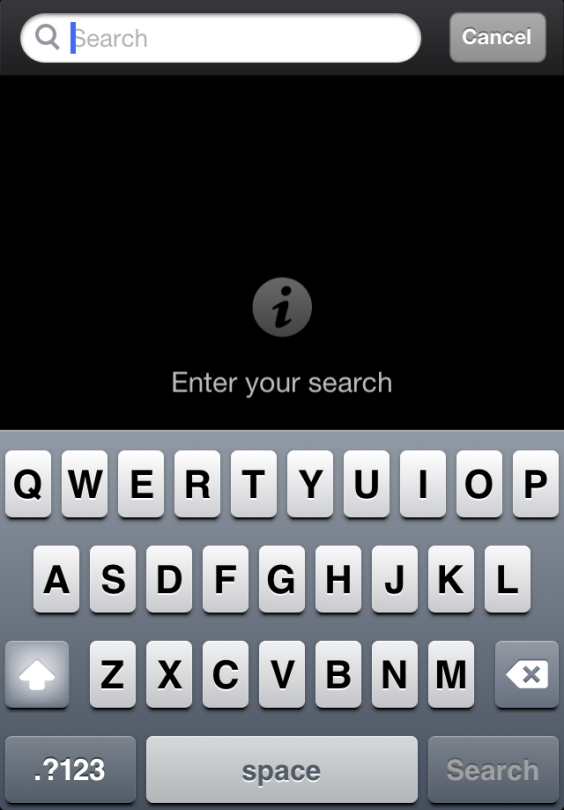
“Search” allows you to look for listings by their title, by the name of one of the listed actors, or by the director’s name.
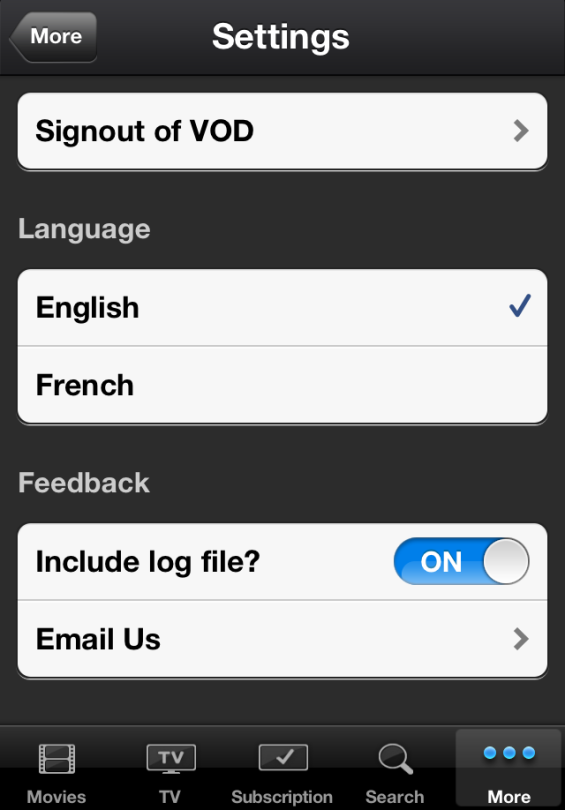 “More”
provides you with the option to view titles that you’d like to watch in
future (“Wishlist”), your current orders, settings (including changing
your preferred language), general help, and allows you to search for
content based on a specific language (“Multicultural”). You can also
sign out of your account through here.
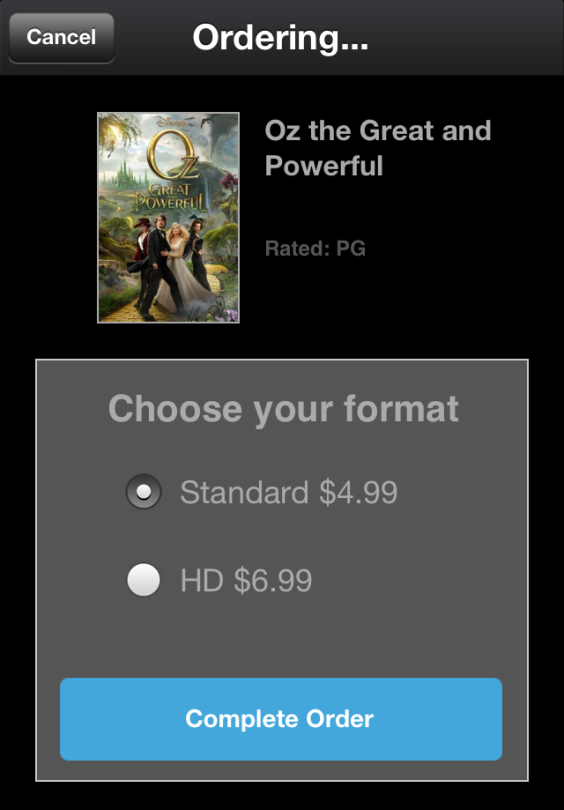
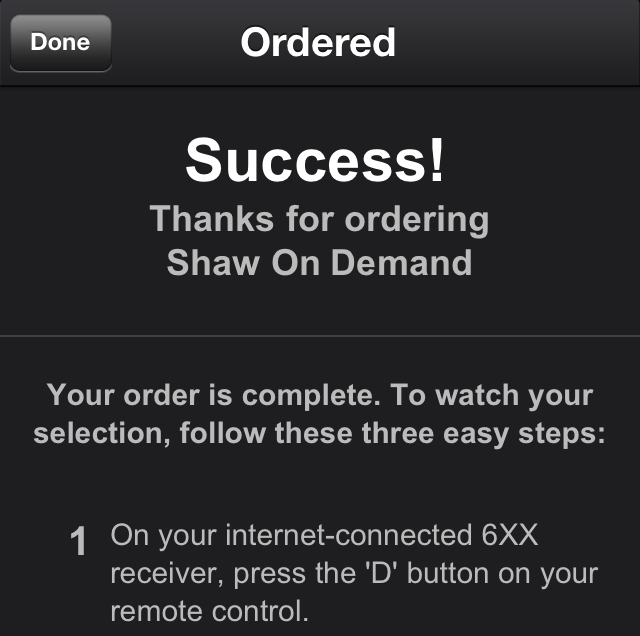
To order a title, tap on the listing, which will take you to a description of it. At the bottom of the description, there is a blue icon that says “Order Now”; tap this to choose your format (SD or HD), and then tap “Complete Order.” When the order is successful, you’ll be taken to a screen with instructions on how to watch the title once you’re settled in front of your receiver.
If you’d rather just add the title to your wishlist, you can do that too. Just to the left of the “Order Now” icon is a small heart icon. Simply tap on this, and the title will appear in your wishlist to be ordered at a later date.
One thing to bear in mind with this app is that you are only able to search titles and remotely order them; it does not stream video.
Any questions about the Shaw On Demand Search app? Don’t hesitate to ask us in the comments below.
*rg

